INTRODUCTION
In my club, each member has his favorite historical period. This is one of the strength points of the club that allows the whole group to know historical moments (and consequently rule systems) normally unknown to most. Our partner Antonio has been collecting miniatures of samurai and Daimyo for a long time. Few rule books could adapt to the complex Japanese dynamics until, in 2022, the Erize brothers published Clash of Katanas (a Clash of Spears supplement) dedicated to the Sengoku period: the Japanese Middle Ages.
A period in which Japan was divided into small fiefdoms constantly at war each other
and covering about 150 years (1467-1615). The Japanese administrative structure in this period was quite simple: the strongest general (Shogun), formally appointed by the Emperor, administered the various military districts controlled by the Daimyo. With the outbreak of the Onin War (1467-1477) several Daimyo proclaimed their independence by dealing severe blows to the Ashikaga Shogunate.
A period full of events which that it is a perfect background for a skirmish-level wargame.

THE GAME
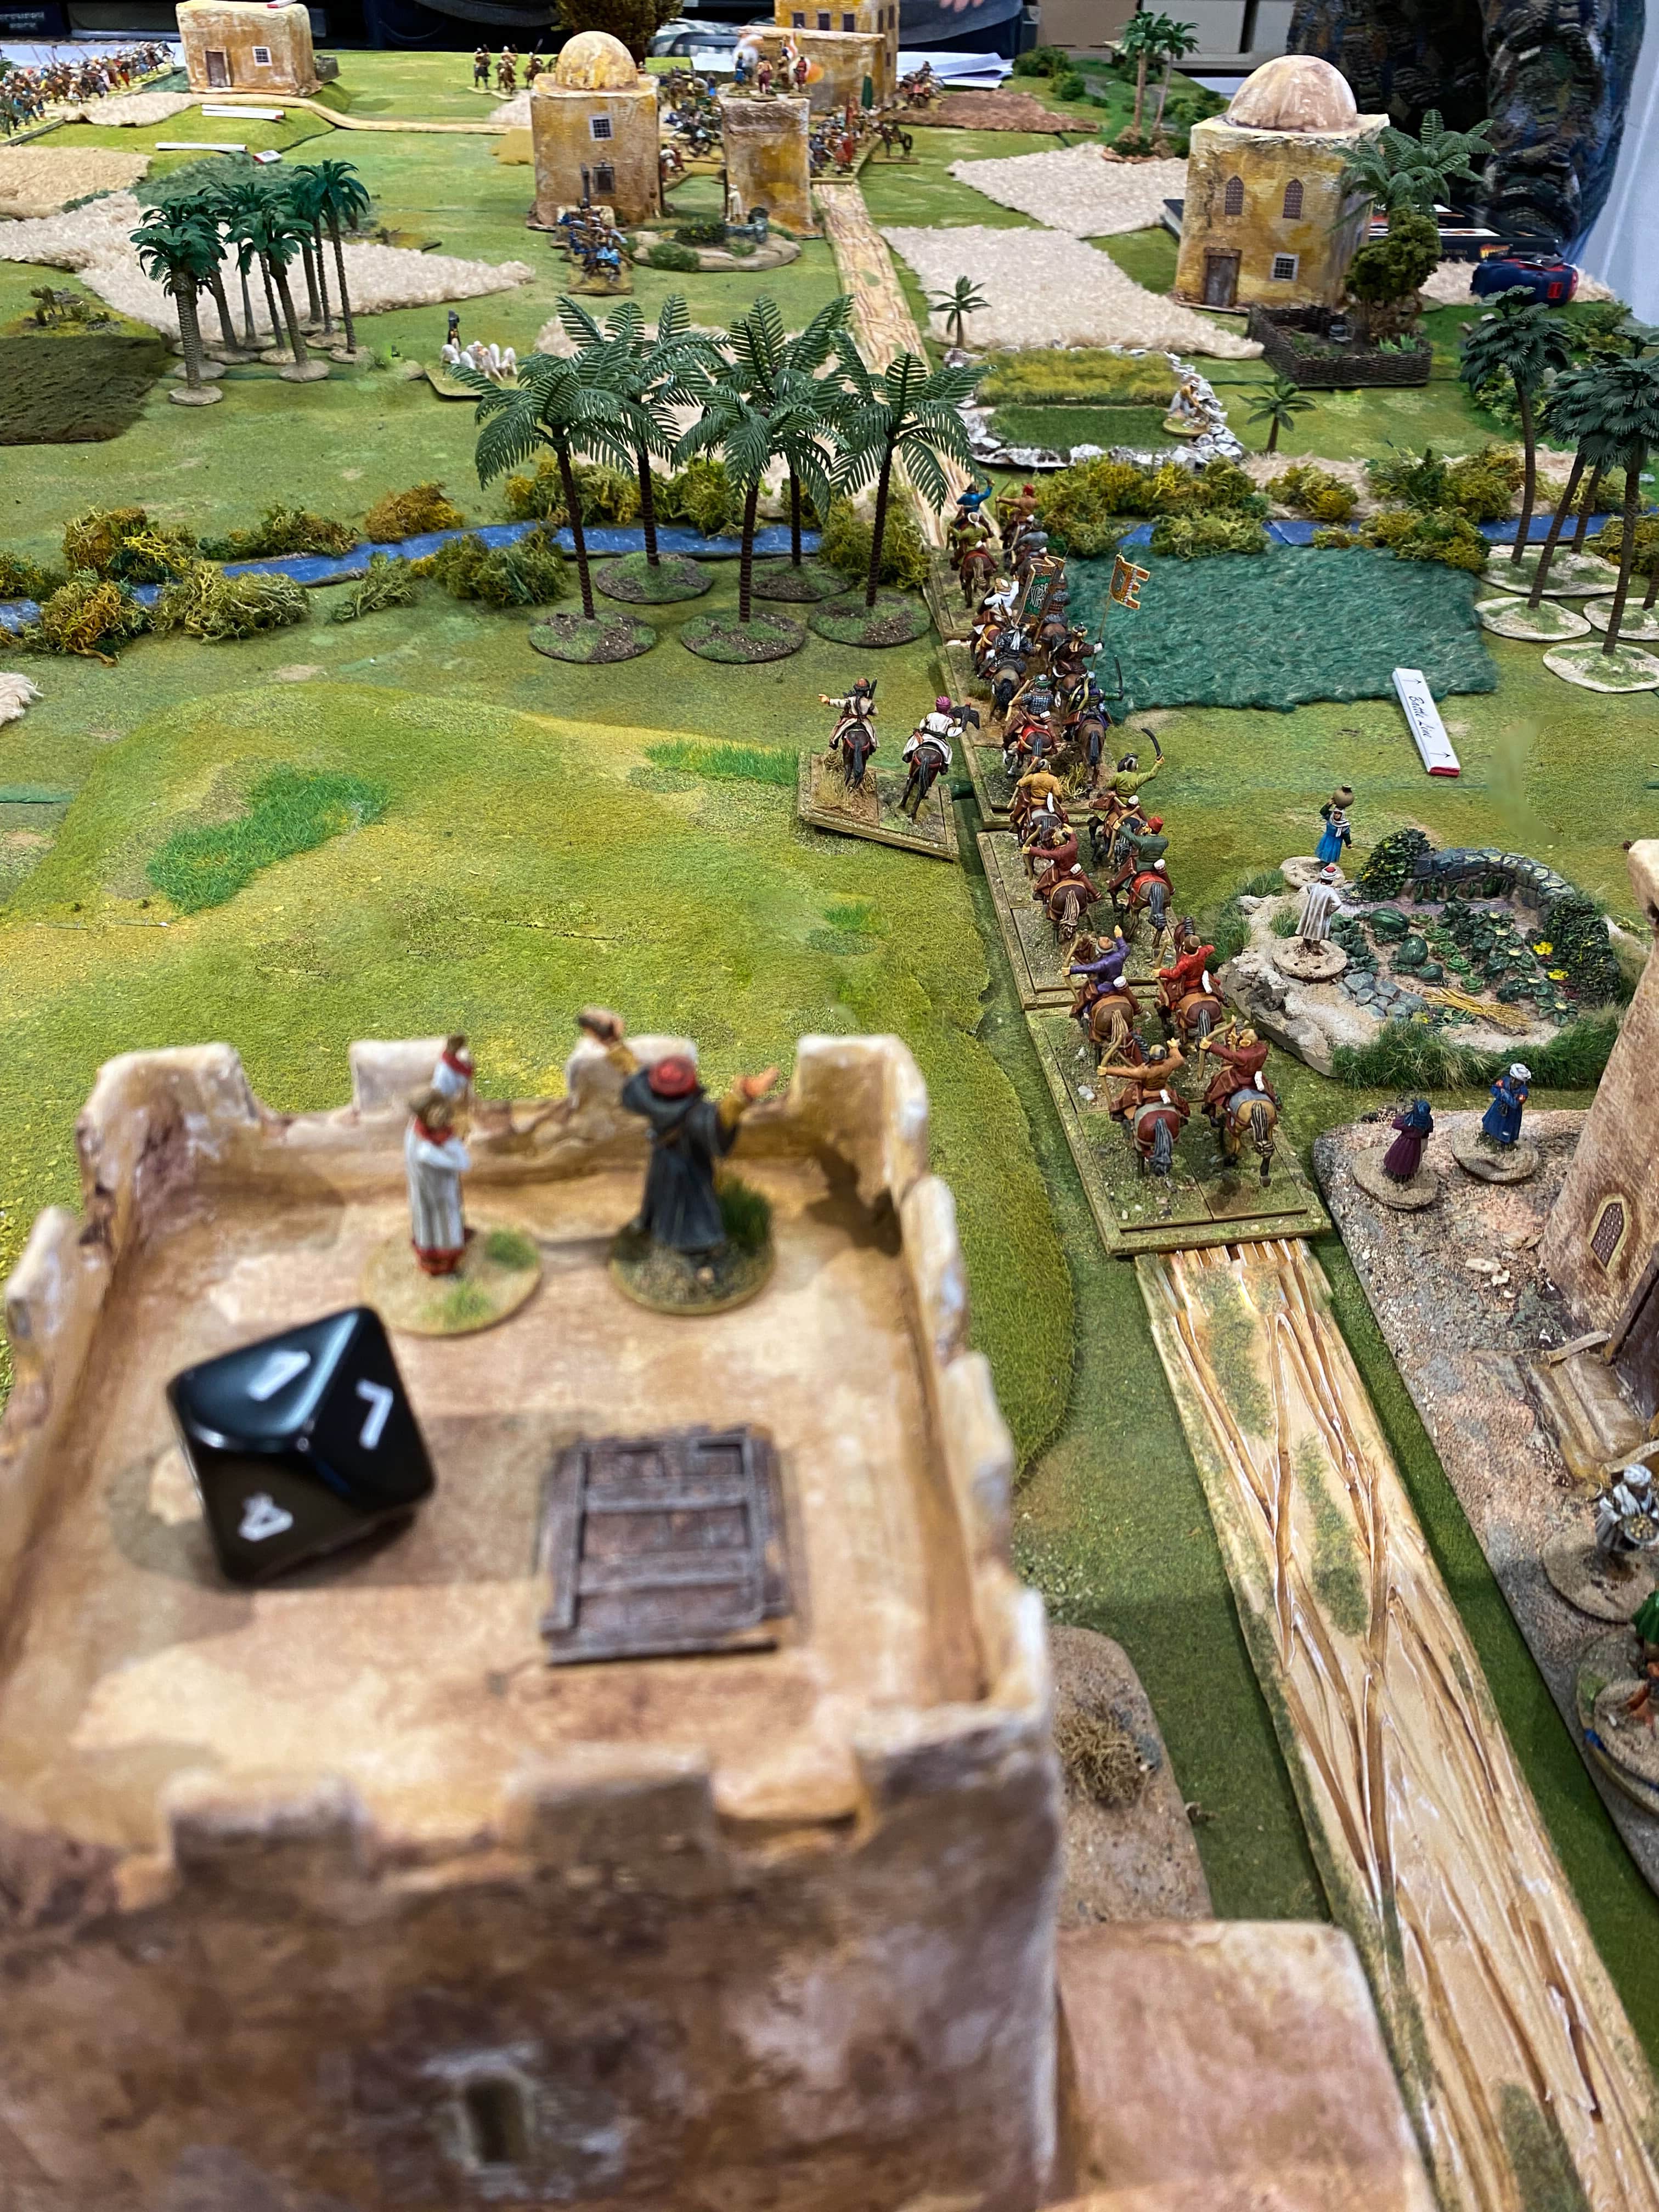
Clash of Katanas allows you to deploy different factions: Samurai clans (Chosokabe, Date, Hojo, Mori, Oda/Tokugawa, Otomo, Takeda, Toyotomi, Uesugi and Shimazu), pirates and bandits (Wako), ninjas (Igga), monks (Ikko-Ikki), Chinese and Korean.
Each warband has its own style.
It is played on a 120cm x 120cm table and, in our club, we use 28mm miniatures.
The game mechanics are simple: one of my units acts, then one of yours and so on. Each unit can perform a total of three actions: move, shoot and move (again) or charge. The system is developed giving the opponent the possibility to react to a rival action. Obviously, these actions-reactions are not free because you need command points. Command points are provided by the leaders deployed on the table and … more command points you have the more responsive is your army.
Another important aspect is the fatigue. If a unit takes a lot of actions, has received hits and casualties, or has been forced to take a morale test… it will receive fatigue. Accumulating fatigue on a unit has unpleasant effects so it is necessary to use recovery actions to reduce it.
The fatigue generated is often affected by the terrain and the unit's armor. If your men are heavily armored and moving across rough terrains they will fatigue more than a poorly armed but lighter unit of peasants.
The basic rulebook has many scenarios: the escort of the Daimyo, the kidnapping of an enemy ambassador or you can play an encounter battle.
The clash ends when, due to a breaking roll caused by the losses suffered, one of the two factions is forced to flee.

SCENARIO
We chose the 5.2 River Crossing scenario from the core manual for our test game. The rules require you to place a river in the middle of the table with a bridge. The river must be 4” wide. Players may initially set up within 6” of the table edge. Two possible fords are placed 12” from the bridge, the players who arrive less than 4” from the ford must roll a dice. If the roll is a 3 or less the pass is too bumpy to use. The river is considered broken ground.
The scenario develops in the morning and, due to the fog, the distance to spot the enemy is reduced from 20" to 16".
The fight ends when one of the warbands goes rout.
The scenario develops in the morning and, due to the fog, the distance to spot the enemy is reduced from 20" to 16".
The fight ends when one of the warbands goes rout.

THE BATTLE
My club mates decided to use two 1200 point gangs: the Togukawa (Aurelian) clan against the Uesugi (Alessandro) clan.
The starting table and…

… the terrain setup


The engagement phase ends when all tokens are in sight of the enemy…


... from that moment the deployment phase starts in which the players replace the tokens with the real miniatures ...

From the beginning, the battle focuses on the bridge.


While the Togukawa units trying to kill the enemy with their bows


The Uesugi attempt to cross the river beside the bridge but are repulsed by enemy arquebusiers who suffer heavy casualties.
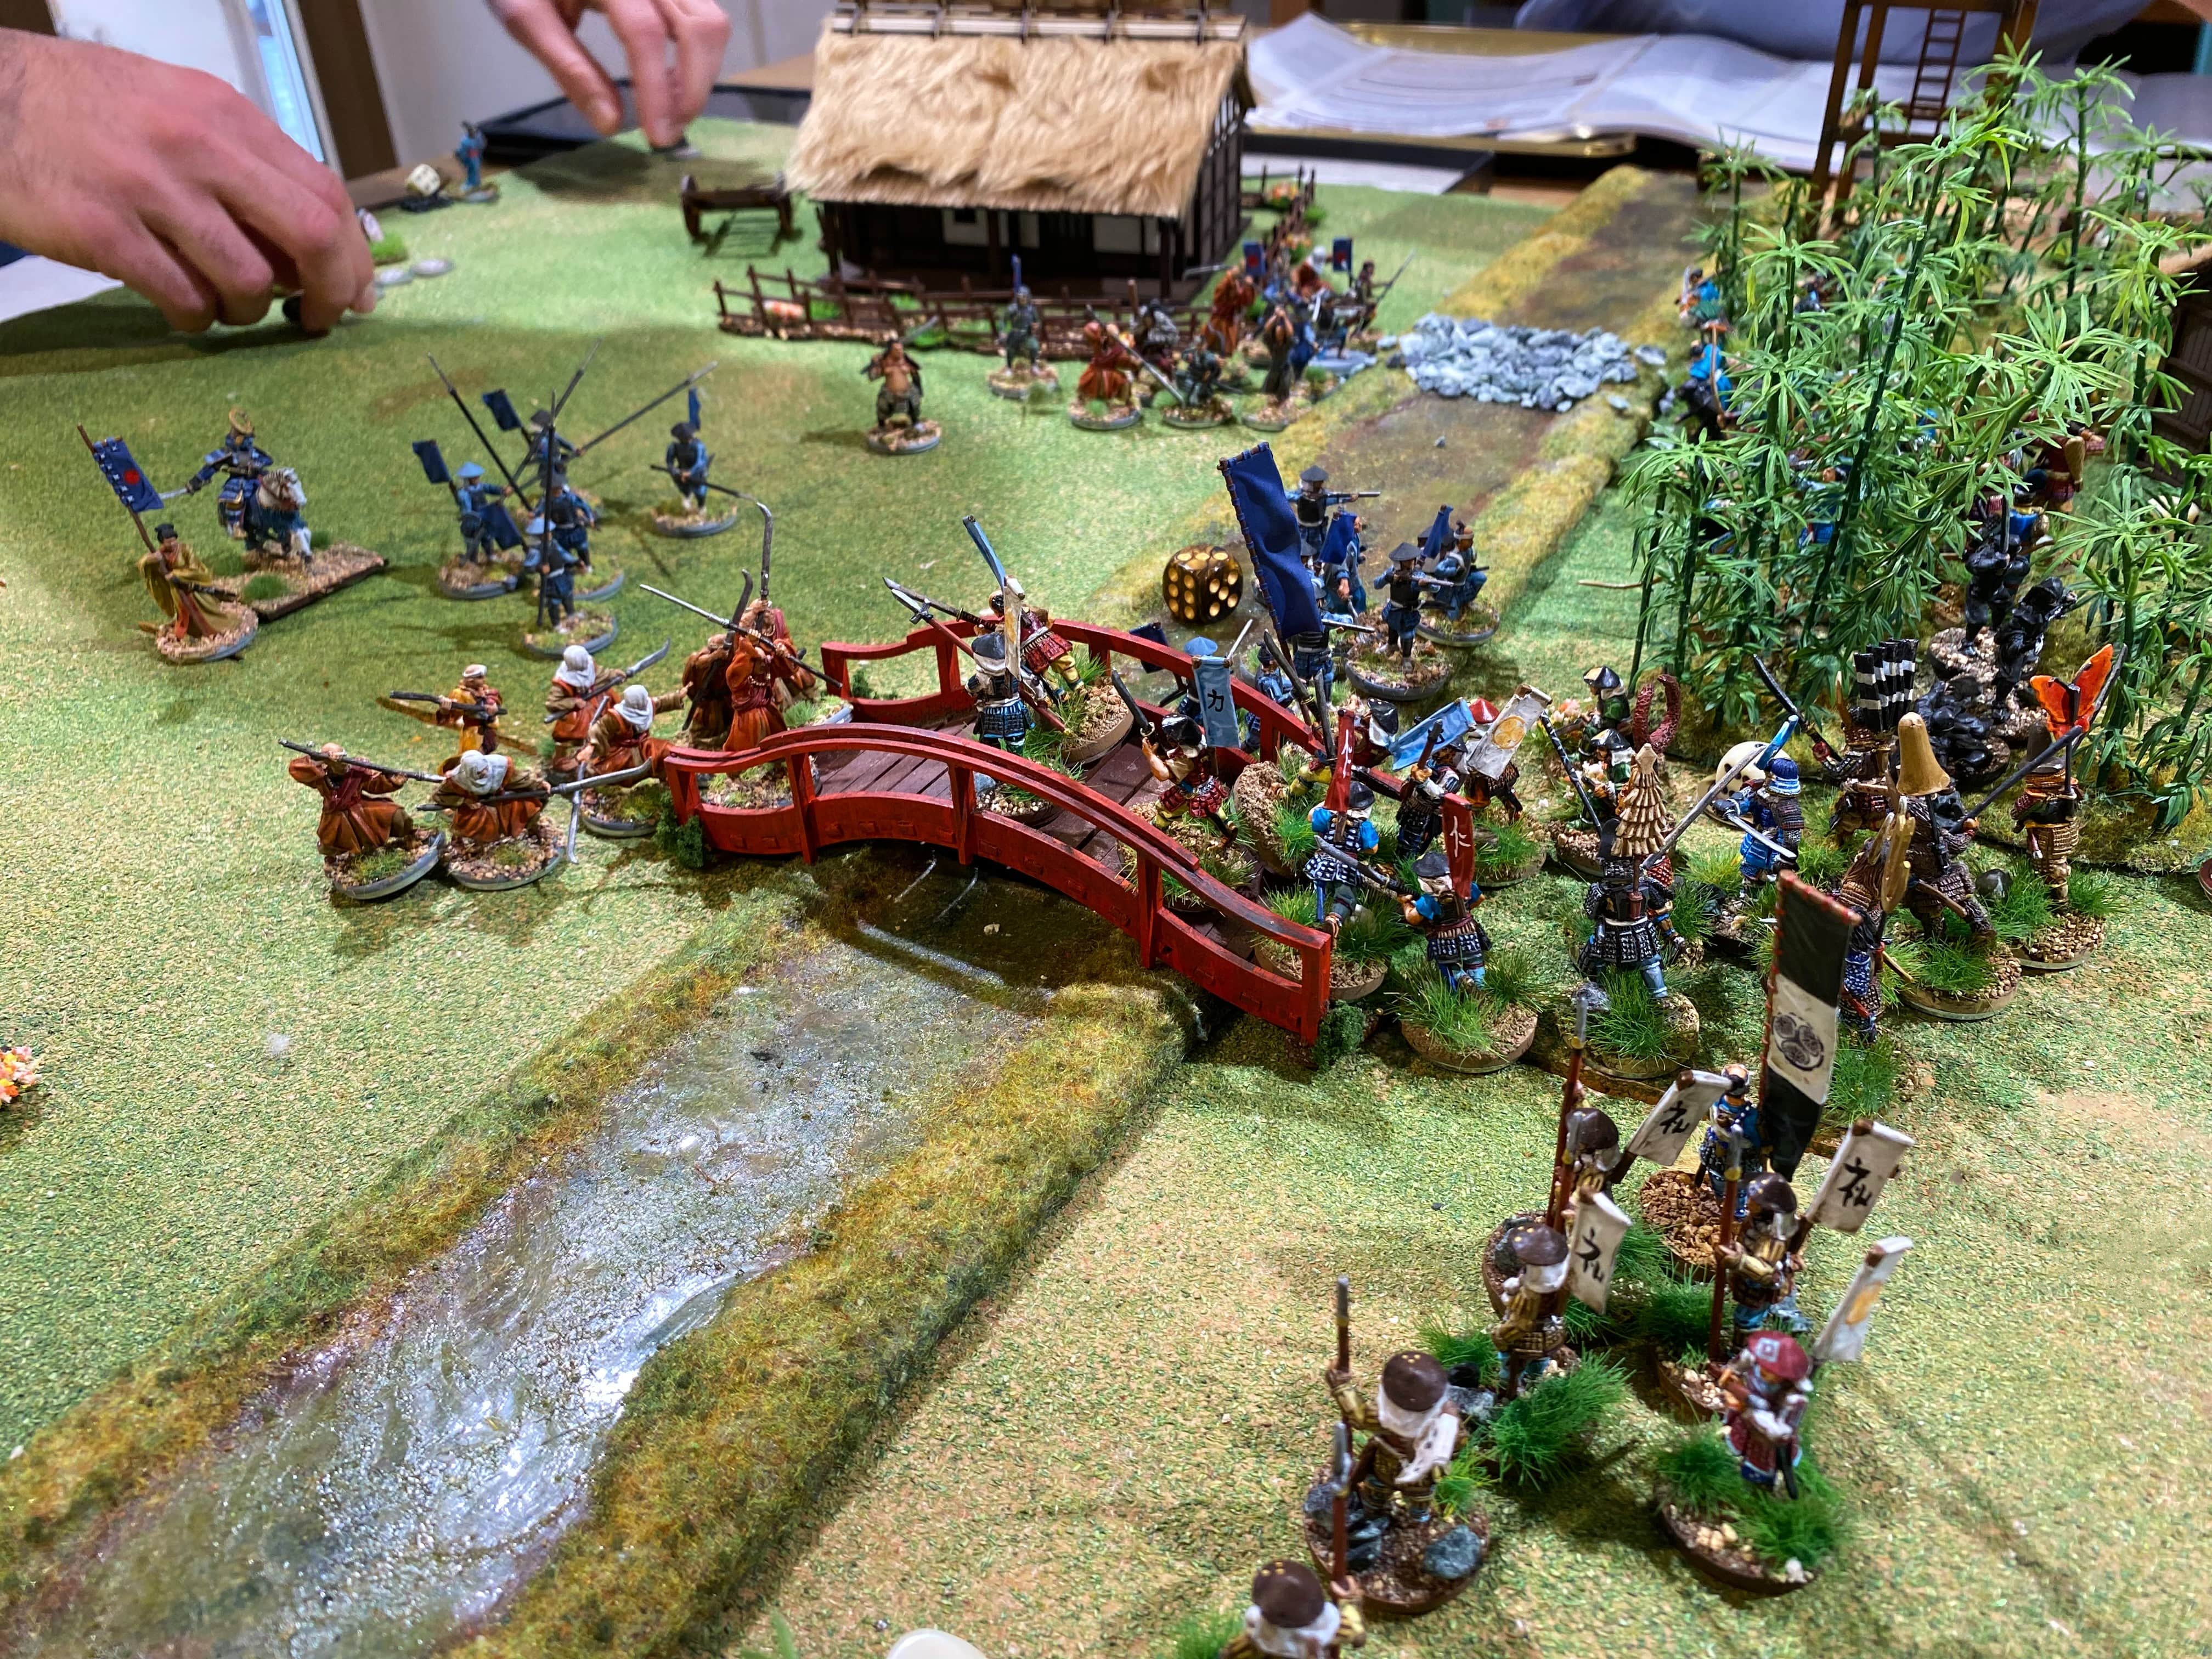

Meanwhile, a unit of ronin in the service of the Togukawa identifies a ford and, after crossing it, attacks the enemy left flank forcing the Daimyo to flee


The clash ends in a victory for the Togukawa Clan controlled by Aurelian